在配置过程中,我遇到了一直出现nginx欢迎页的bug,后面发现是us.kg域名的问题,在我换成blog域名后成功了,问题出现的原因可能是前段时间us.kg崩了,于是我从cloudflare中删除了该域名,后面添加回来,可能是没有清除以前的dns记录导致的?我没有验证,大家可以自行尝试。
1. 更新系统
sudo -i
apt update
apt upgrade -y
2. 安装 Nginx
apt install nginx -y
systemctl start nginx
systemctl enable nginx
3. 安装MySQL(MariaDB)
apt install mariadb-server -y
systemctl start mariadb
systemctl enable mariadb
配置数据库
mysql_secure_installation在执行 mysql_secure_installation 时,会问你几个问题:
- Enter current password for root: 直接按回车
- Set root password? [Y/n]:输入 Y,然后设置 root 密码
- Remove anonymous users? [Y/n]:输入 Y
- Disallow root login remotely? [Y/n]:输入 Y
- Remove test database? [Y/n]:输入 Y
- Reload privilege tables now? [Y/n]:输入 Y
4. 为 Typecho 创建数据库和用户
mysql -u root -p- 使用 root 身份连接 mysql -u 表示指定用户名 -p 表示需要输入密码
CREATE DATABASE typecho;
CREATE USER 'typecho'@'localhost' IDENTIFIED BY '设置一个密码';
GRANT ALL PRIVILEGES ON typecho.* TO 'typecho'@'localhost';
FLUSH PRIVILEGES;
exit;- 创建名为 typecho 的数据库,并创建一个 typecho 用户,指定其此用户仅允许本地访问,且设置一个密码,然后授予该用户对 typecho 数据库的所有权限。最后刷新一下。
5.安装 PHP 及必要扩展
apt install php-fpm php-mysql php-gd php-curl php-mbstring php-xml php-zip -y
systemctl start php8.3-fpm
systemctl enable php8.3-fpm- 注意php-fpm版本,可用通过以下命令查看
dpkg -l | grep php-fpm

#输出:其中,8.3就是版本
#ii  php-fpm                          2:8.3+93ubuntu2                         all          server-side, HTML-embedded
6. 下载和配置 Typecho
cd /var/www/html
rm /var/www/html/index.nginx-debian.html #nginx欢迎页
mkdir typecho
cd typecho
wget https://github.com/typecho/typecho/releases/latest/download/typecho.zip
apt install unzip -y
unzip typecho.zip
chown -R www-data:www-data /var/www/html/typecho
chmod -R 755 /var/www/html/typecho
chmod -R 777 /var/www/html/typecho/usr/uploads
7. 配置 Nginx
vim /etc/nginx/sites-available/typecho.conf添加以下信息:
# HTTP 80 -> HTTPS 301重定向
server {
    listen 80;                          # IPv4监听
    server_name example.com;

    # 强制HTTPS
    if ($http_x_forwarded_proto != 'https'){
        return 301 https://$server_name$request_uri;  # 只在用户原始请求是HTTP时重定向;
    }
}

# HTTPS核心服务配置
server {
    listen 443 ssl;                     # SSL端口监听
    server_name example.com;

    # SSL证书路径 (必须绝对路径!)
    ssl_certificate       /etc/nginx/ssl/cert.pem;
    ssl_certificate_key  /etc/nginx/ssl/key.pem;

    # SSL强化协议
    ssl_protocols TLSv1.2 TLSv1.3;
    ssl_prefer_server_ciphers on;
    ssl_session_cache   shared:SSL:10m;
    ssl_session_timeout 1d;

    # 根目录设置
    root /var/www/html/typecho;         # Typecho程序路径
    index index.php;

    # 全局安全头(可选)
    add_header X-Content-Type-Options "nosniff" always;
    add_header Referrer-Policy "strict-origin-when-cross-origin";

    # 主请求处理
    location / {
        try_files $uri $uri/ /index.php?$args;
    }

    # PHP处理规则
    location ~ \.php$ {
        include fastcgi_params;
        fastcgi_param HTTPS on;
        fastcgi_pass unix:/run/php/php8.3-fpm.sock;  # 匹配实际PHP版本
        fastcgi_index index.php;
        fastcgi_param SCRIPT_FILENAME $document_root$fastcgi_script_name;
    }

    # 拒绝访问隐藏文件
    location ~ /\.(?!well-known) {
        deny all;
    }

    # 自定义错误页
    # error_page 404 /404.html;
    # error_page 500 502 503 504 /50x.html;

    #location = /50x.html {
    #   internal;                      # 禁止外部直接访问
    #   root /var/www/html/error_pages;
    #}
}- 如果你的域名挂在cloudflare,你可以通过进入域名,
SSL/TLS—>源服务器—>创建证书
修改nginx.conf,记得备份,将原有的nginx.conf替换成如下配置
user www-data;                     # Ubuntu系统专用用户
worker_processes auto;             # 自动根据CPU核心数优化
worker_rlimit_nofile 65535;        # 提升文件描述符限制
pid /run/nginx.pid;

# 错误日志配置
error_log  /var/log/nginx/error.log notice;

# 事件模块
events {
    use epoll;                     # Linux高性能模式
    worker_connections 8192;       # 高并发场景建议值
    multi_accept on;               # 允许同时接受新连接
}

# HTTP核心配置
http {
    include       /etc/nginx/mime.types;      # ▲ 唯一引入点!
    default_type  application/octet-stream;   # ▼ 全局默认类型

    # 日志格式
    log_format combinedio '$remote_addr - $remote_user [$time_local] '
                          '"$request" $status $body_bytes_sent '
                          '"$http_referer" "$http_user_agent" '
                          '$request_length $request_time $upstream_response_time';

    access_log  /var/log/nginx/access.log  combinedio;

    # 性能优化参数
    sendfile            on;        # ✔️ 唯一全局定义
    tcp_nopush          on;        # 提升TCP效率
    tcp_nodelay         on;        # 禁用Nagle算法
    keepalive_timeout   65;        # 合理的保持连接时间
    client_body_timeout 12;        # 统一客户端超时
    client_header_timeout 12;

    # 安全增强
    server_tokens off;             # 隐藏Nginx版本号

    # 压缩配置
    gzip on;                       # ▼ 全局压缩开关
    gzip_types text/css application/json application/javascript;

    # 包含动态配置
    include /etc/nginx/conf.d/*.conf;       # 基础配置片段
    include /etc/nginx/sites-enabled/typecho.conf;     # 虚拟主机配置
}
验证配置:
nginx -t
#输出
#nginx: the configuration file /etc/nginx/nginx.conf syntax is ok
#nginx: configuration file /etc/nginx/nginx.conf test is successful
8. 启用站点配置
ln -sf /etc/nginx/sites-available/typecho.conf /etc/nginx/sites-enabled/
rm /etc/nginx/sites-enabled/default
nginx -t
systemctl restart nginx
9. 访问网站完成安装
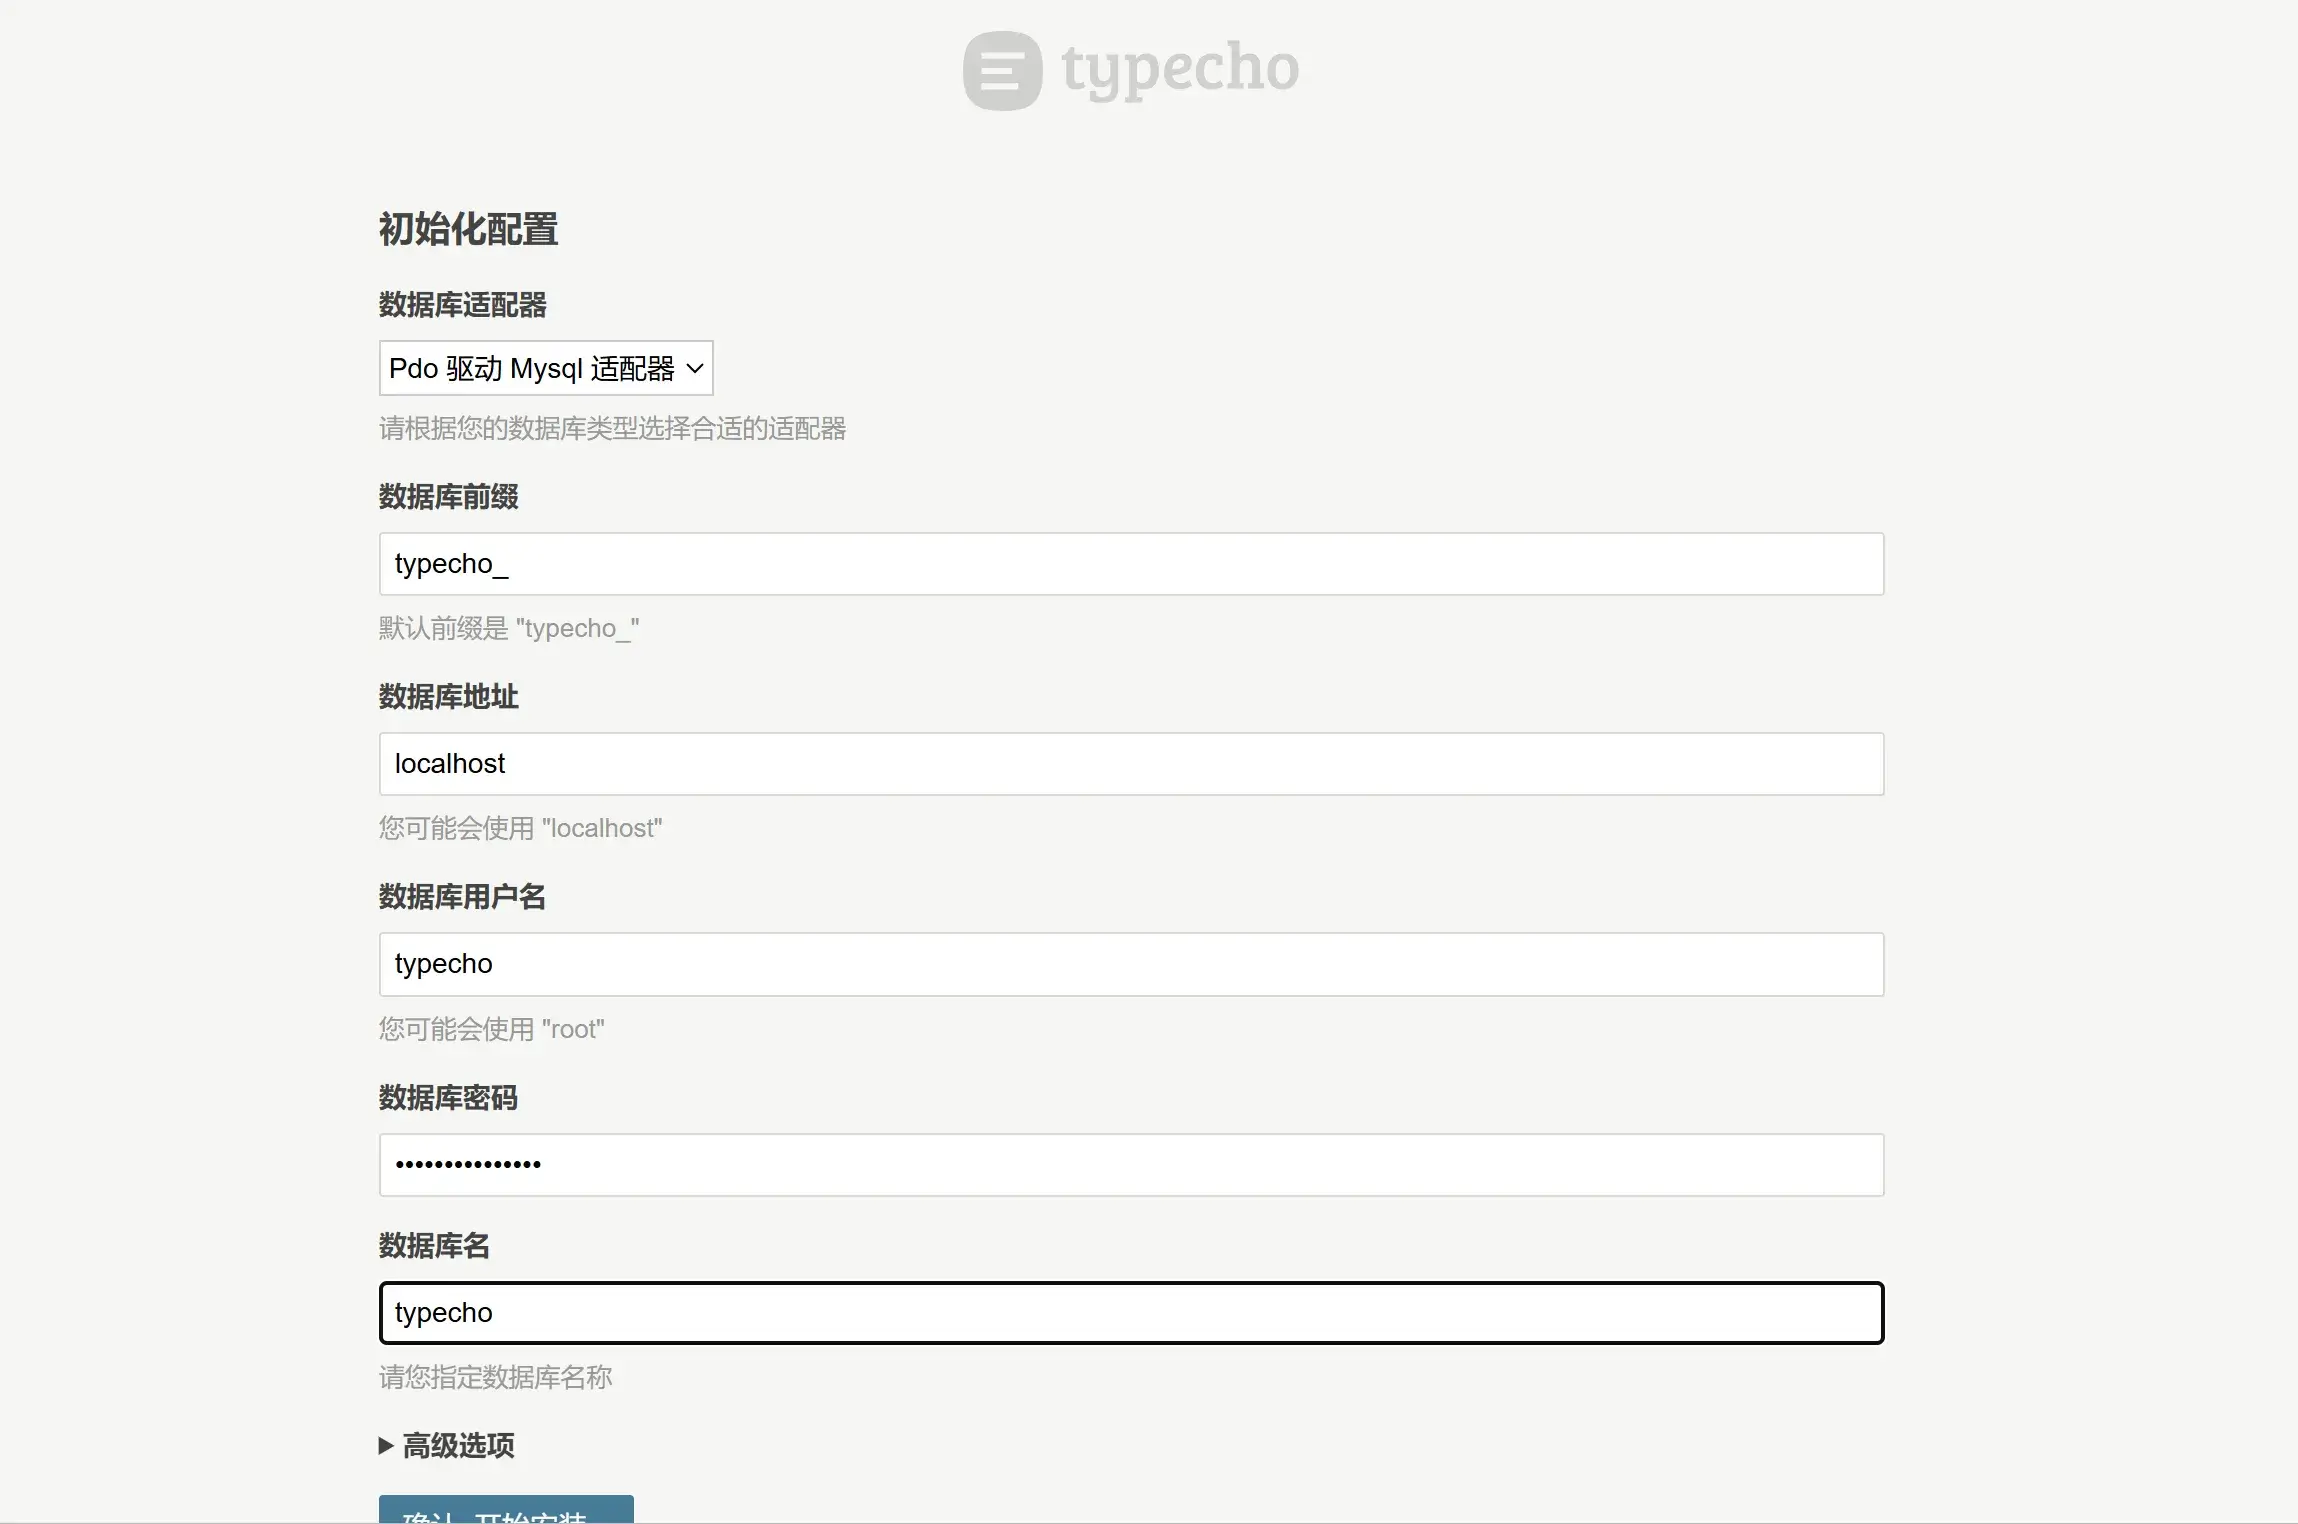
现在你可以通过浏览器访问你的域名或服务器 IP,会看到 Typecho 的安装界面。按照以下步骤完成安装:

- 选择 "开始安装"
- 数据库适配器选择 “MySQL”
- 数据库地址填写 “localhost”
- 数据库端口保持默认 “3306”
- 数据库用户名填写 “typecho”
- 数据库密码填写你之前设置的密码
- 数据库名填写 “typecho”
- 点开高级选项,取消启用数据库 SSL 服务端证书验证
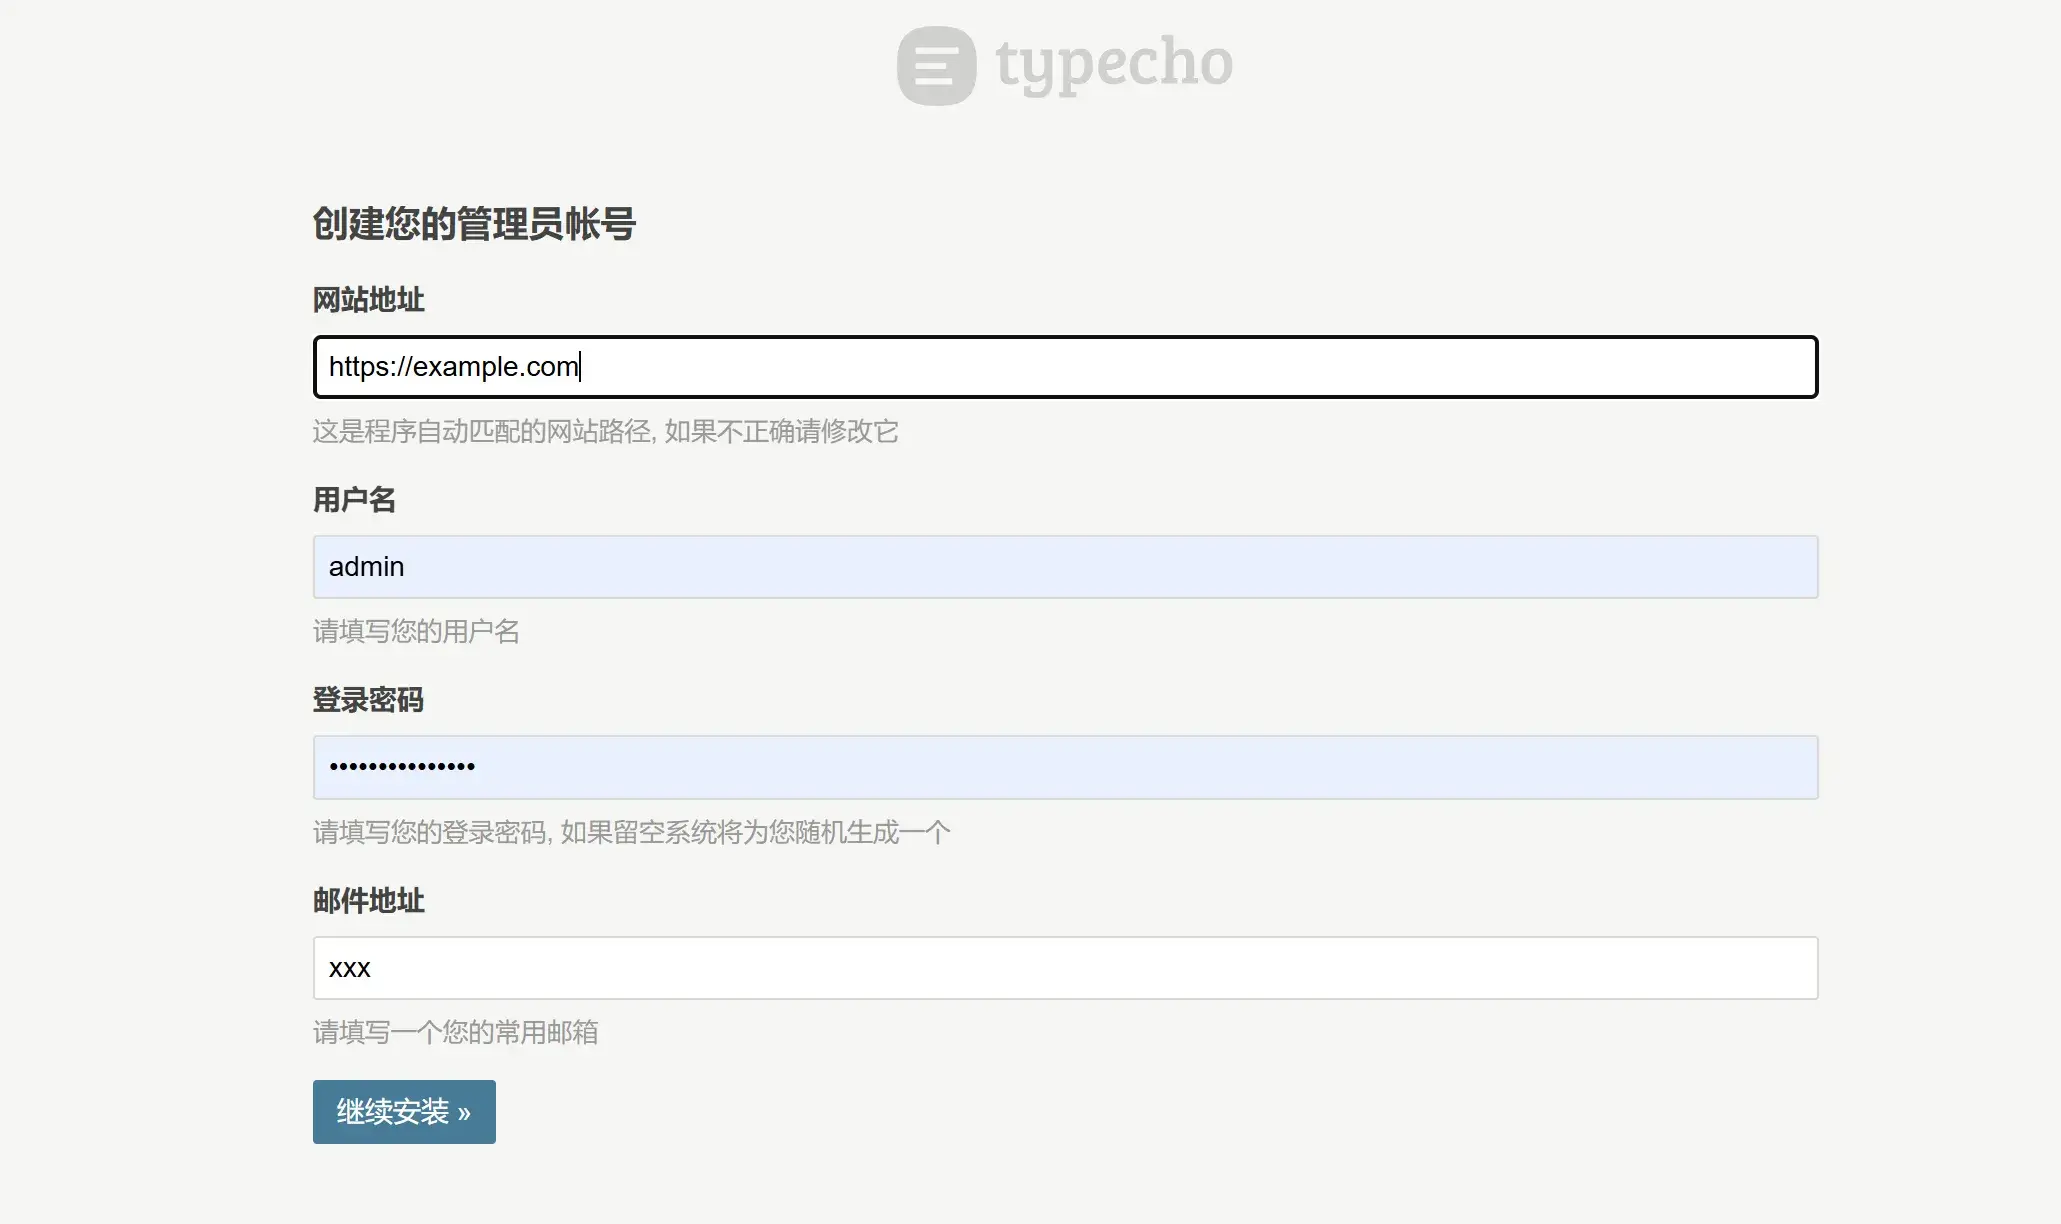
- 创建管理员账号和密码

10.注意事项:
- 确保防火墙允许 80 端口访问:
apt install ufw
ufw allow 80/tcp
ufw allow 443/tcp
ufw enable- 如果遇到权限问题,可以检查:
chmod -R 755 /var/www/html/typecho
chown -R www-data:www-data /var/www/html/typecho- 如果网站打不开,可以查看日志:
tail -f /var/log/nginx/error.log- 记得定期备份数据:
mysqldump -u root -p typecho > typecho_backup.sql11.常用指令
首先得进入 mysqlmysql -u root -p
- 更改 mysql root 密码:
ALTER USER 'root'@'localhost' IDENTIFIED BY 'F)!1x5n1>4>ipf,rUXrQaA1D0d';- 查看数据库中的用户表:
SELECT * FROM typecho_users;- 重置管理员 url:
UPDATE typecho_users SET url = 'https://新域名' WHERE uid = 1;- 修改管理员用户名:
UPDATE typecho_users SET name = '新管理员用户名' WHERE name = 'admin';- 重置管理员密码:
UPDATE typecho_users SET password = MD5('新密码') WHERE uid = 1;


